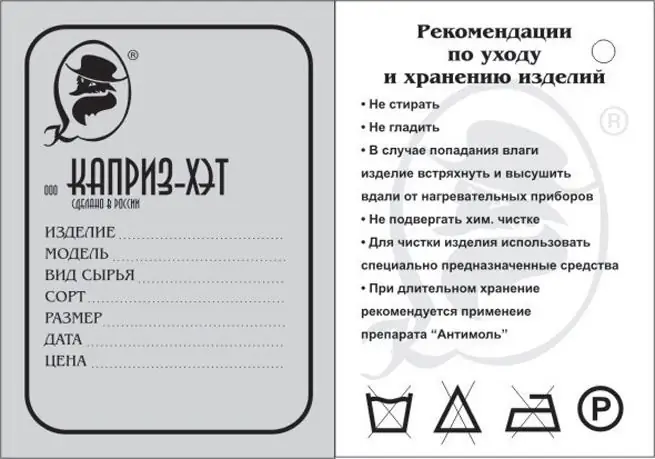
A label is a tag that marks a product or product. It can be a simple one, consisting only of inscriptions, and a complex graphic composition. It seems to many that a label for a product can only be created using a typographic method, but this is not the case. Even the capabilities of the Microsoft Word text editor, which is installed on almost every personal computer, allow you to make a label.

Instructions
Step 1
The label starts with a sketch. Take a blank sheet of paper and think about what writing needs to be placed on the label and what drawing or photograph can be placed on it as a backing. Divide it into several zones, which will contain a title, explanatory labels, specifications or other output data. Zones can be limited by frames or not at all. Labels can also be visually separated by horizontal lines.
Step 2
In the main menu "View" on the top panel, connect the toolbar "Drawing", it will appear on the bottom panel of the text editor. When you click on any button located on this panel, a selected area appears with the inscription "Create a picture". Right-click on it and adjust its shape and size. The area inside the frame will be your label.
Step 3
In the drawing panel, you can select and add decorative WordArt lettering, clip art, and images to your label. At the same time, in the properties of the image, you can mark it as a substrate, which will allow you to change the contrast, brightness and make it transparent, not interfering with reading the inscriptions located on it.


