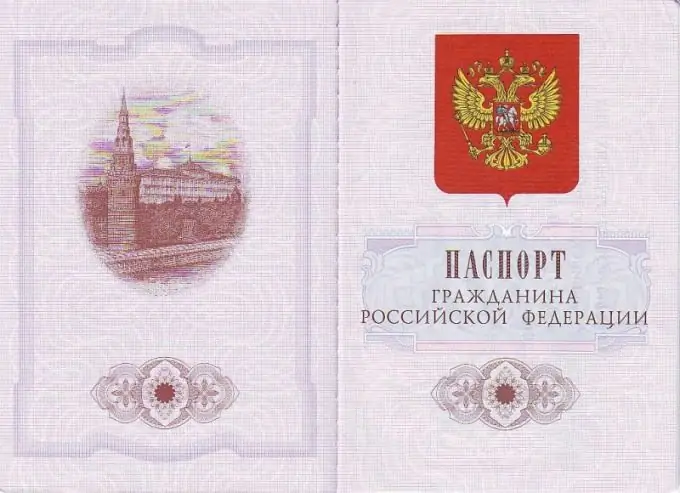
Often, when processing various documents, you need to present your passport. But what if you need to verify your identity via the Internet, for example, when using an electronic service portal of any government organization? In this case, you will need to scan your passport. If you follow the algorithm of actions, the scan of your passport will be accepted as a necessary supporting document.

It is necessary
- - passport;
- - scanner;
- - a computer.
Instructions
Step 1
Check the requirements of the site or organization where you are submitting your scanned image. Understand what image format is required, whether you need text recognition in the image, what should be the minimum and maximum size of the file to be sent. This is important because otherwise your file might not be accepted.
Step 2
Connect the scanner to your computer. Check if the connection is working by going to the "Printers and Faxes" heading through the "Settings" section of the "Start" menu. If the printer is installed correctly, an icon with its image should be displayed in "Printers and Faxes".
Step 3
Open the passport to the desired page and place it on the scanner glass with the text side down. Pay attention to the marks on the scanner glass. The passport should not go beyond the boundaries marked for A4 scanning. To do this, move its edge to the corner of the glass marked with a special arrow. Turn on the scanner with the Start button. If necessary, change the settings on the scanner itself.
Step 4
In the "Printers and Faxes" section, double-click on the scanner icon. A window with settings will open. With it you can set the scan format. Also, if necessary, check Scan with OCR in the menu. This is necessary if you are going to format the text in the future. Also in the menu, specify the desired file size and color of the scanned image.
Step 5
Click on the "Scan" button. Do not open the scanner lid or move the passport until scanning is complete.
Step 6
Save the resulting picture on your computer or on an external medium. Name the file so as not to confuse it with others. If you are going to subsequently send it to foreign sites, call it Latin - the Cyrillic text may be incorrectly perceived by the system.
Step 7
If the image does not correspond, for example, to the required volume, open it in a graphics editor and compress it to the required size.


